If You Want to Drive, You Have to Work – Studebaker GT Hawk Update


You hear everywhere that the classic car scene lacks the next generation. That's probably true. I've decided to stop complaining about it and instead start with myself—or, more precisely, with my daughter.
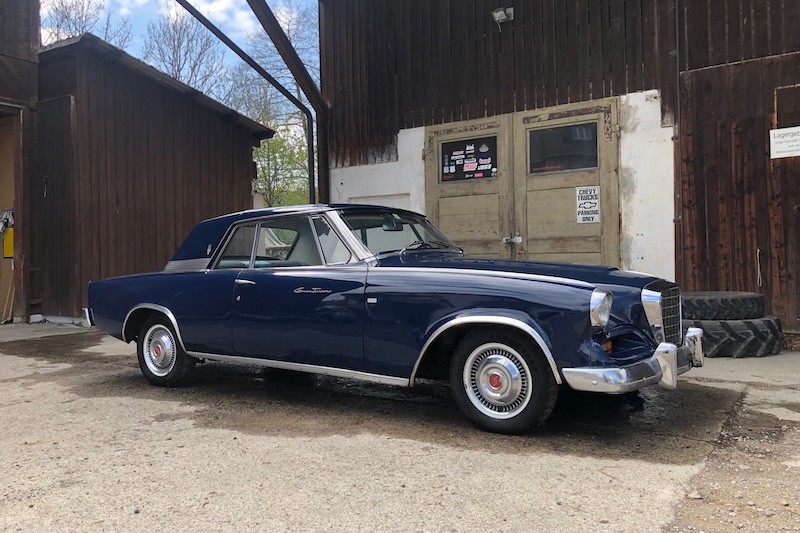
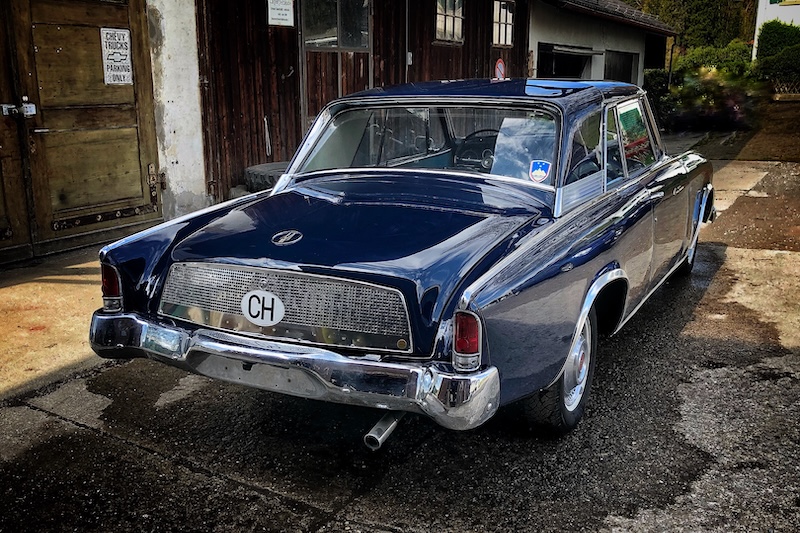
Four years ago, I gave Liv a 1962 Studebaker Gran Turismo Hawk, as I've already mentioned in one of my blog posts . Was that educational or just a good excuse to get another car? Well, my daughter was thrilled. The car had been sitting idle since 1996—at least it was stored in a dry place and had received one final service before being taken out of service. There's no rust, and it's in decent condition. However, the fuel lines, tires, and especially the brakes needed to be overhauled.

The inside of the drum brake—originally assembled with plenty of grease—but after 30 years, there was nothing left in the lines and wheel cylinders but powder...
The brakes were the ones that gave out the most completely—totally! No pedal pressure, no braking action, nothing at all. Even during the recovery four years ago, a rear wheel was locked up, and as we were winching it out, we immediately tore the pads right off the brake shoes. So we'd already taken a first look inside back then, whether we wanted to or not.
But now it was time to do it “right.” One Saturday afternoon, all the parts were laid out, and my daughter Liv got to do it herself. I guided her, explained the steps, and her godfather held the workshop lamp. She screwed, removed the old wheel cylinders and brake shoes, and installed the new parts. It went very smoothly, without any swearing or stripped screws.
Studebaker started out as a wagon maker in 1852, building the covered wagons for settlers heading west. No American automaker has a longer history. Perhaps that explains why everything about the “Studi” is so pleasantly uncomplicated. The brake drums are simply slipped over the wheel hubs and held in place by the rims. We've never had a drum brake open this quickly before. The puller stayed in the drawer. A great feature and a masterclass in repair-friendliness that modern automakers would do well to emulate.

Loosening the cap nuts with the Raccord wrench requires a delicate touch
Otherwise, we encountered hardly any obstacles. Not a single cap nut was so stuck to its wheel cylinder after decades that it refused to come loose. The work progressed quickly—ideal for a beginner in her early teens, before her patience runs out. I know what I'm talking about. But it wasn't entirely without surprises. We carelessly stripped the front metal lines, so they'll need to be replaced. And while we're at it, we might as well replace all the metal lines at once. That will be the next step, since the goal is set. Liv wants to take her driver's test in the spring of 2027, and by then the Studebaker should be road-ready. The ignition, carburetor, and everything else will come next. Everything already works—at least in theory. We want to get to the bottom of the details once we can literally “experience” them—with the V8 rumbling and all that. That's fun—unlike current gas prices.

Lighting tips from a professional photographer: “Light, spot, clamp...”
But for now, we're very satisfied. The brakes all around are done, including the master cylinder; new brake shoes are installed; everything's brand-new—except for the metal lines. We're having those custom-made. Another important thing: Our hands are black; I'm looking right now at my rather weathered ten extremities, scrubbed countless times, and a 17-year-old now knows what a drum brake looks like on the inside.