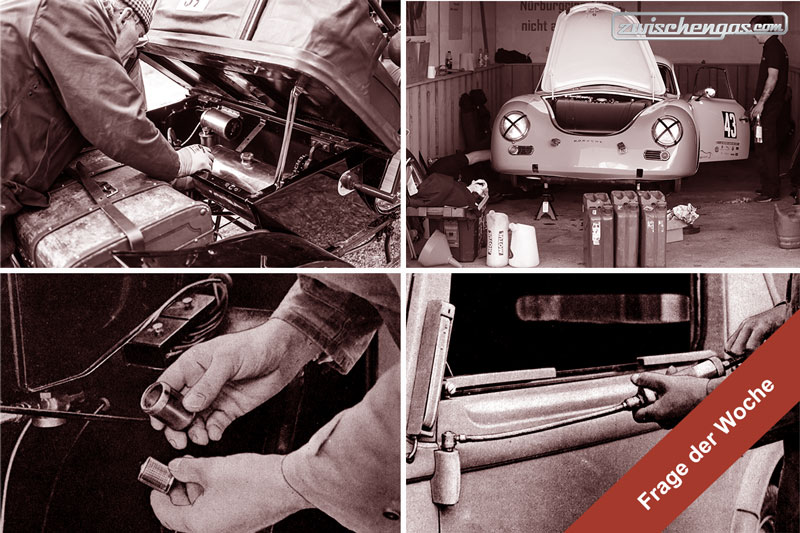
Winterizing your classic car or youngtimer - theory and practice


Summary
Every year, when the days get shorter and the weather gets colder and wetter, many classic and vintage car drivers are faced with the question of how to winterize their beloved vehicle. This report looks at the usual "winterization measures" and shows what is actually done in practice.
This article contains the following chapters
- Stage 1 - do what is necessary
- Stage 2 - do something good for the classic car
- Stage 3 - optimum long-term storage
- Effort versus benefit versus practicability
Estimated reading time: 3min
Preview (beginning of the article)
The days are getting shorter, the first snow is falling in the lowlands. By now at the latest, classic and vintage car drivers must realize that the season is over. To ensure that the cherished car is fit again in spring, it is advisable to prepare the vehicle for idleness. Of course, you can simply put the car in the garage and hope that it will start up again in the spring, but this "stage 0" is not advisable. Before winterizing, the old car should be warmed up properly so that condensation and residual moisture disappear from the engine and exhaust. During this "last" drive, the car should also be filled up with fuel. If you are dependent on lead replacement or need an octane booster, you should do without it before winterizing in order to prevent deposits. The additive can then be added again in the spring before the first journey.
Continue reading this article for free?
Images of this article